Nazaara Top
A made-to-measure crochet top worked as one lace panel of puff-stitch shells, finished with front button plackets, a scalloped hem, and two-strand cord straps.
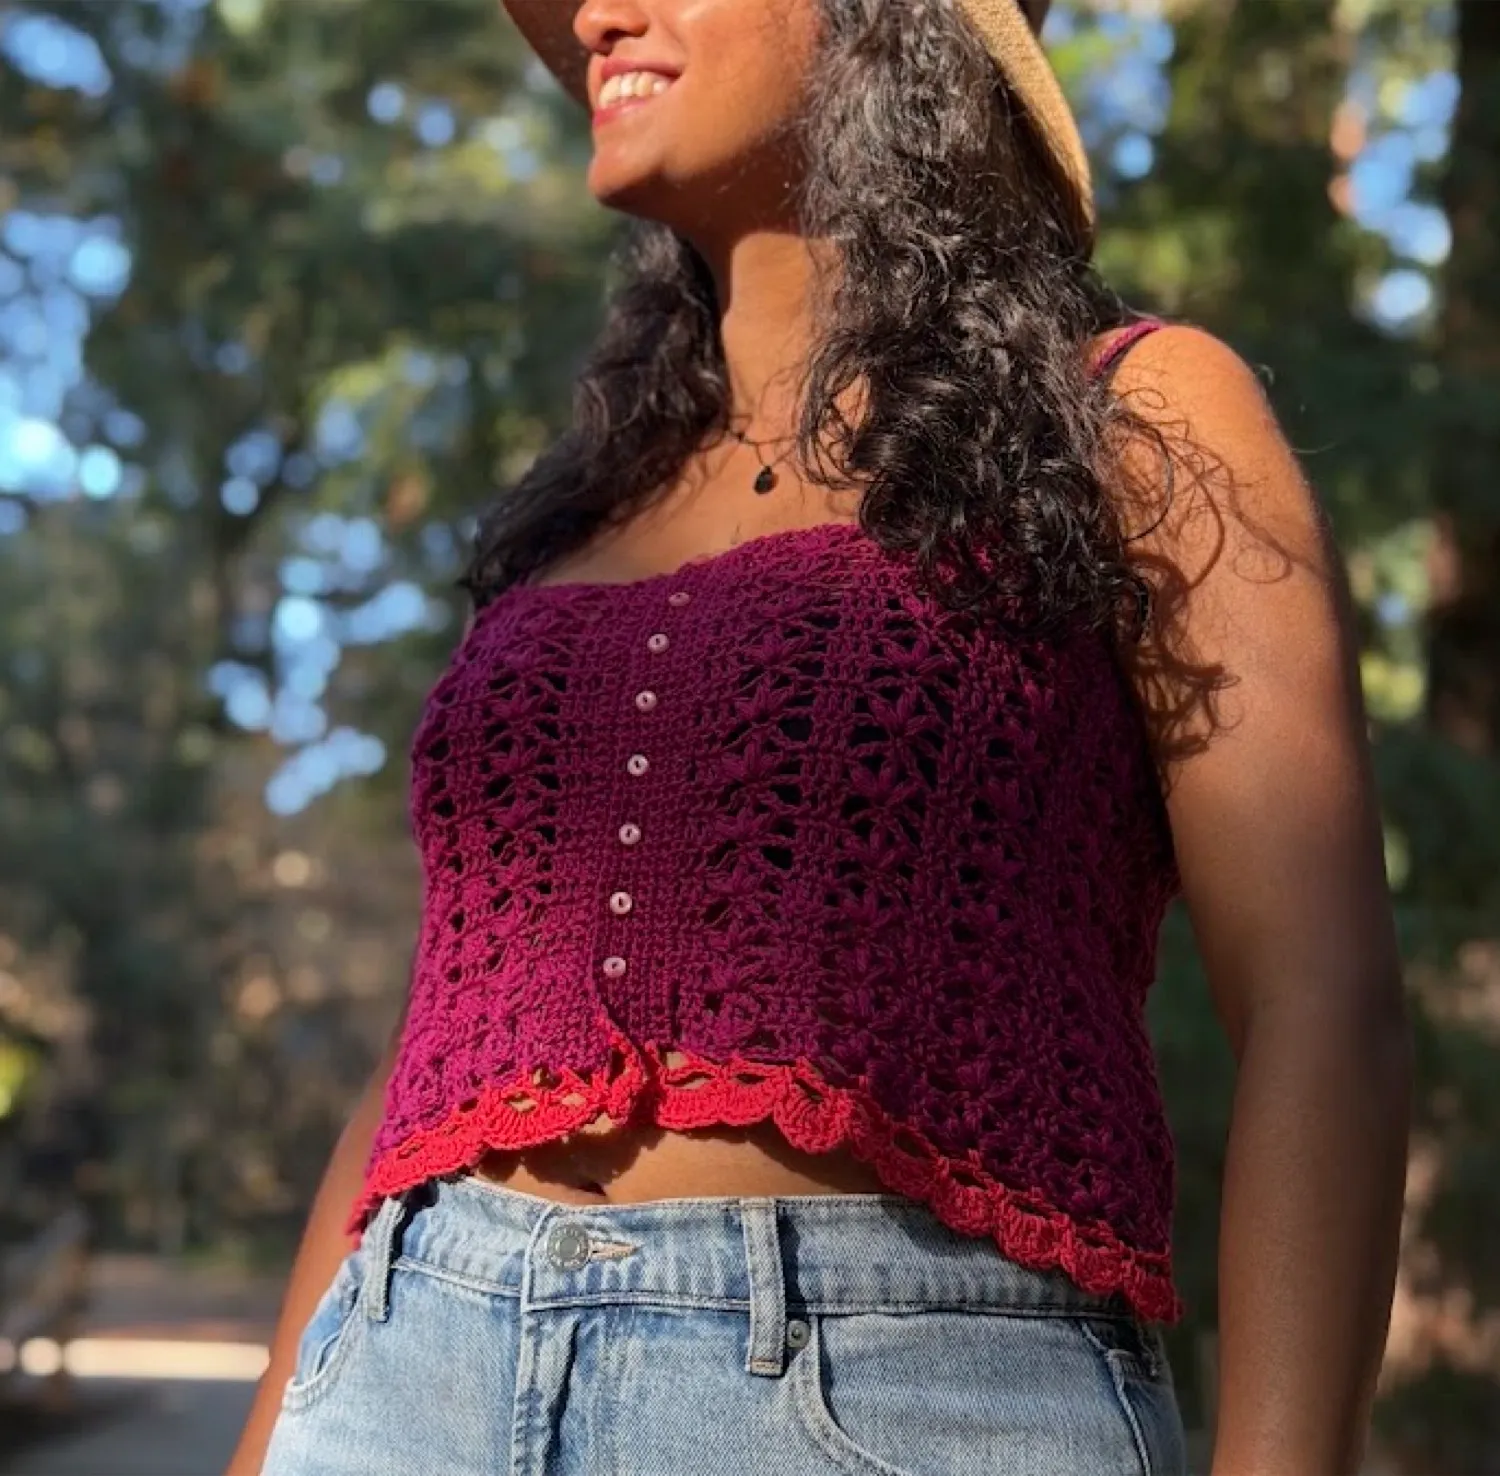
A Made-to-Measure Crochet Pattern by artscraftswhatknots!
What You’ll Need
- Yarn: Any yarn thickness can be used, but a Sport weight cotton yarn (preferably fine mercerized cotton) is highly recommended to achieve the perfect structural drape and stitch definition.
- Hooks: Use a hook size appropriate for your chosen yarn thickness, plus a second hook that is 0.5 mm larger for the foundation chain (e.g., a 4.5 mm hook for the chain and a 4.0 mm hook for the main body).
- Notions:
- 8 small buttons (approx. 10–12 mm)
- Yarn needle for weaving in ends
- Scissors
- Stitch markers
Pattern Notes & Sizing
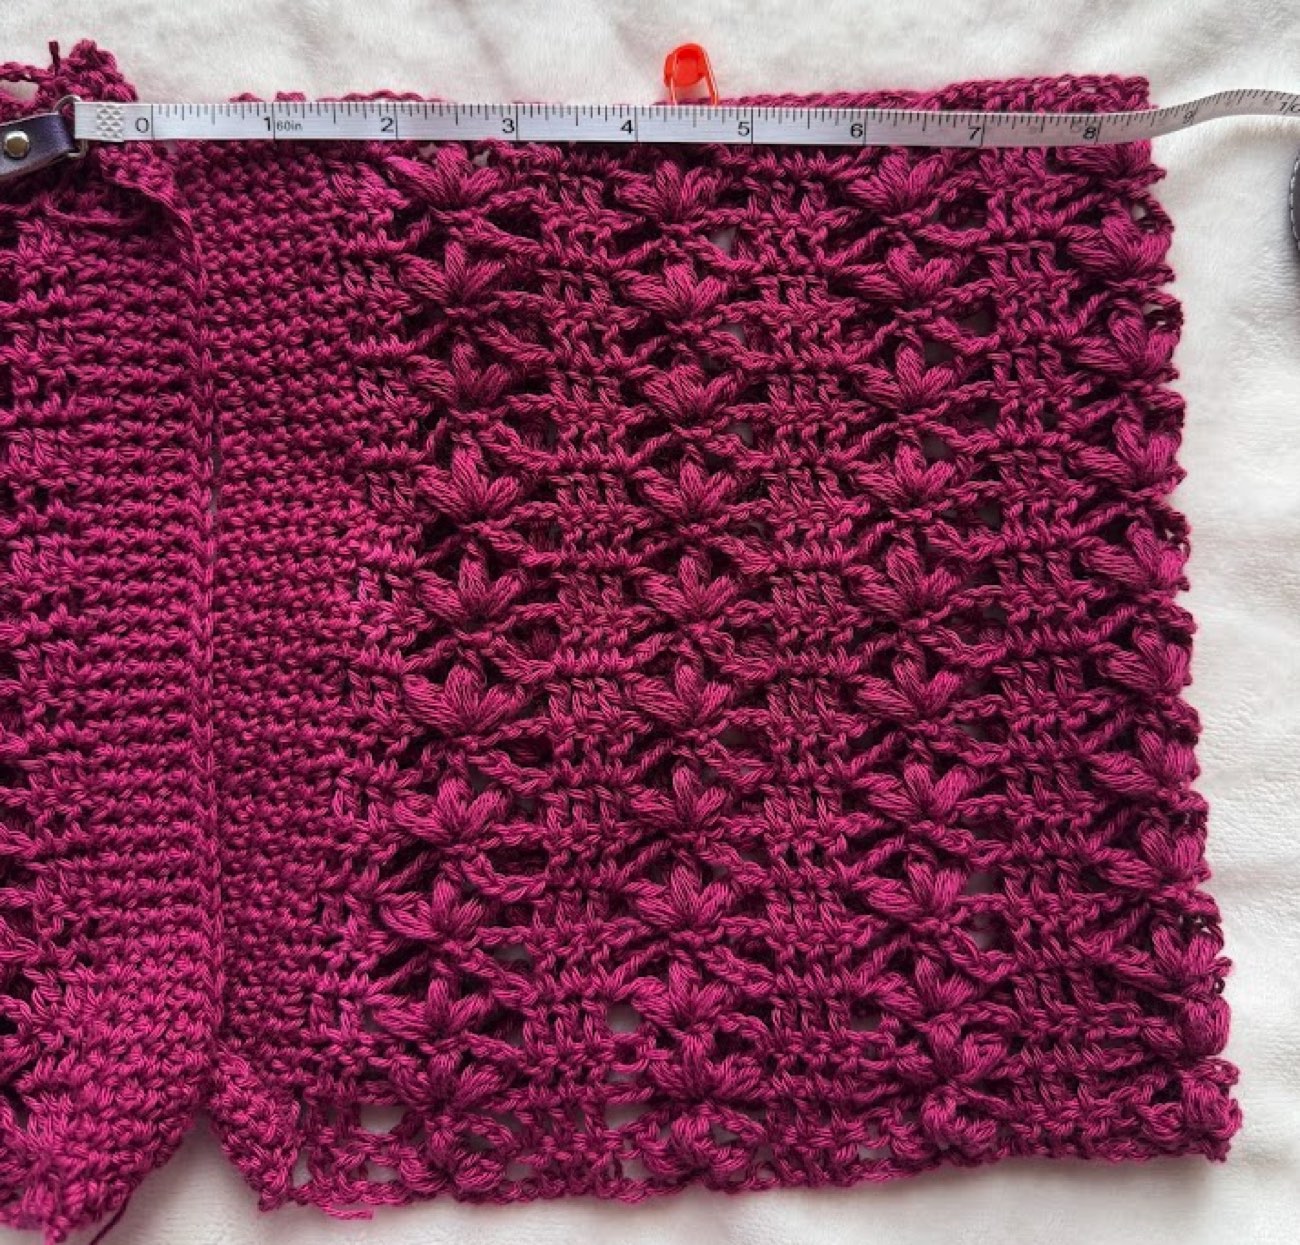
- Made-To-Measure Construction: The main body is worked flat as a single rectangle, then the button plackets, scalloped border, and straps are attached directly to it.
- Sizing Guide: Chain a length that comfortably wraps around your chest area to start. Because this pattern is made-to-measure, you will allow for a 1-inch gap on each side (2 inches total deviation from full chest size) to account for the width the button plackets will add. Repeat the body rows until the piece reaches your desired height to cover your chest area.
- First DC of a Row (Stacked Single Crochet): Instead of a standard ch 3, use a Stacked Single Crochet at the start of rows to create clean, straight edges with zero gaps.
- To do this: Turn your work, make 1 sc in the very first stitch. Then, insert your hook into the left vertical bar (the side loop) of the sc you just made, yarn over, pull up a loop, yarn over, and pull through both loops to create a second sc stacked directly on top of the first one. This counts as your first double crochet (dc) throughout the pattern.
Abbreviations (US Terms)
- ch: Chain
- sc: Single Crochet
- dc: Double Crochet
- stacked-sc: Stacked Single Crochet (counts as the first dc of a row)
- sp: Space
- st(s): Stitch(es)
- puff: Puff Stitch
Special Stitch Instructions
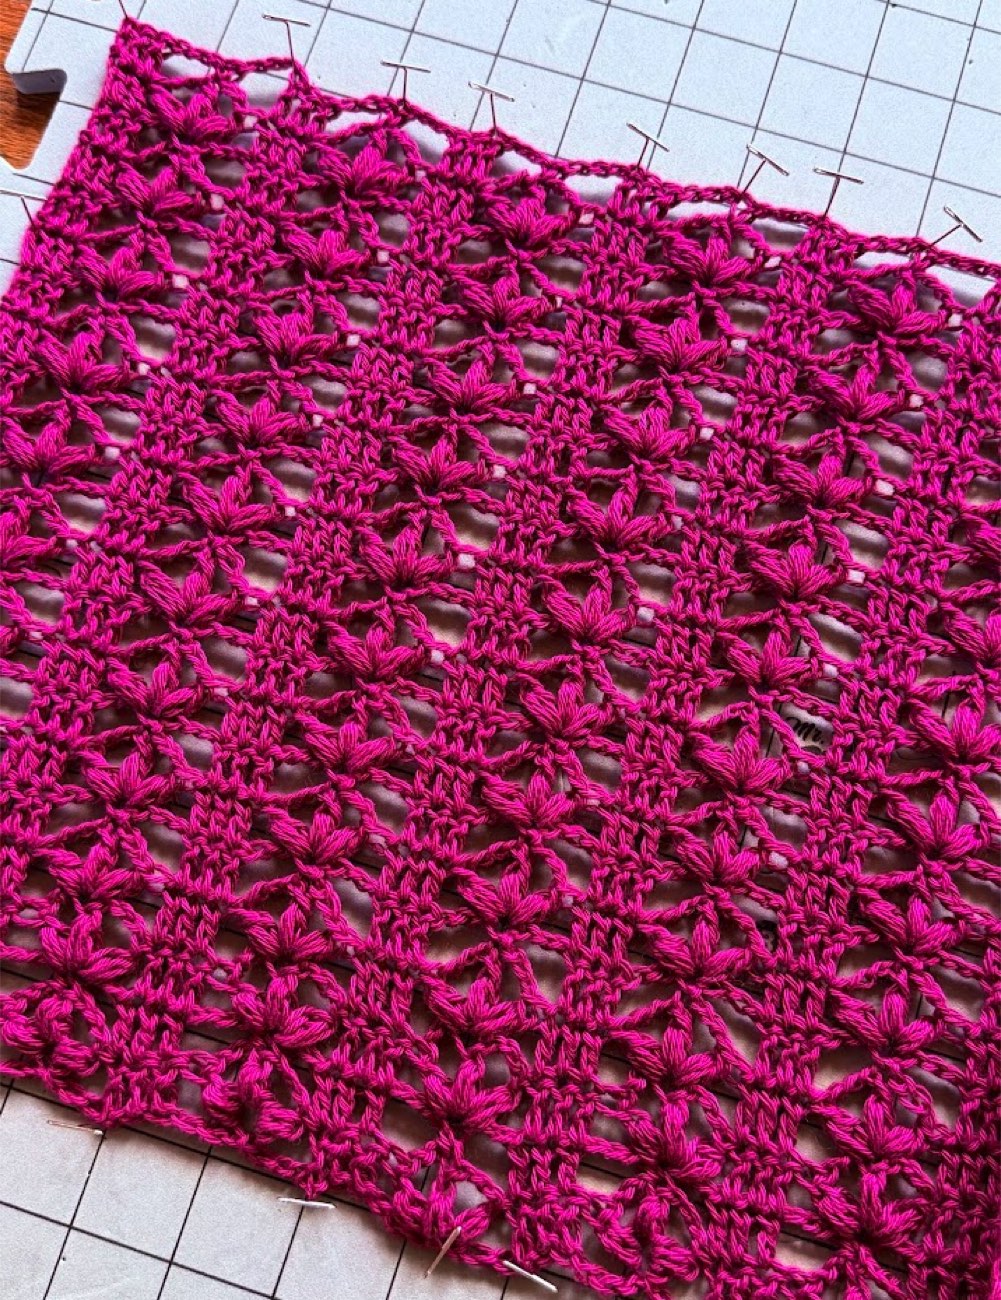
Puff Stitch (puff): [Yarn over, insert hook into specified stitch, yarn over and pull up a loop] 3 times in the same stitch (7 loops on hook). Yarn over, pull through all 7 loops, ch 1 to close the puff stitch. (Note: The closing ch 1 does not count as a separate stitch or space throughout the pattern).
1. The Body Panel
Foundation Chain: Using your 0.5 mm larger hook, chain a multiple of 6 + 2 stitches until it spans your calculated chest width (minus the 2-inch total placket gap). Switch to your main, 0.5 mm smaller hook before starting Row 1.
Row 1 (Setup Row): Dc in the 4th chain from your hook (the skipped 3 chains count as your first dc equivalent). Dc in the next chain. *Skip 2 chains, work [1 puff, ch 2, 1 puff] all in the next chain. Skip 2 chains, work 1 dc in each of the next 3 chains.* Repeat from * to * across the row until you reach the end of your foundation chain. Your final repeat of the row will finish with 1 dc in each of the last 3 chains. Turn.
Row 2: Stacked-sc in the first stitch. Dc in each of the next 2 dc stitches. *Ch 1. Work 1 sc into the ch-2 space between the two puff stitches of the previous row. Ch 1, skip the puff stitch, and work 1 dc into each of the next 3 dc stitches.* Repeat from * to * across the row, placing your final dc into the top of the turning stitch from the previous row. Turn.
Row 3: Stacked-sc in the first stitch, dc in each of the next 2 dc stitches. *Work [1 puff, ch 2, 1 puff] directly into the sc stitch from the previous row. Skip the next ch-1 space, and work 1 dc into each of the next 3 dc stitches.* Repeat from * to * across the row, ending with 1 dc in each of the last 3 dc stitches. Turn.
Row 4 and Beyond: Repeat Row 2 and Row 3 consecutively until your main body rectangle is tall enough to comfortably cover your chest area. To ensure a completely clean finish before starting your plackets and borders, end on a Row 3 repeat. Fasten off your yarn.
2. Button Placket(includes instructions for both sides)
Using your main hook, work directly into the raw vertical side edges of your completed body panel. Each finished placket adds approximately 1 inch of width to its respective side.
Row 1: Attach yarn to the bottom corner of one vertical side edge. Work 2 sc into the side of each dc row from the body pattern evenly all the way across the edge. Turn.
Rows 2–3: Ch 1, sc in each st across. Turn.
Row 4 (Buttonhole Placement Row):
- Placement Note: Lay your top flat. For standard left-over-right buttoning, place buttonholes on the left placket edge. For right-over-left, place them on the right placket edge. The opposite side placket will remain a plain solid row of single crochet (simply sc in each st across for Row 4).
- Sizing Guideline: Take the total number of sc stitches in your row, subtract the total stitches needed for your chosen buttonholes, and divide the remaining number by 7 to find your even stitch-gap spacing.
- For Small Buttons: *Sc in the calculated gap stitches, ch 1, skip 1 sc.* Repeat from * to * across the row to create 8 small holes. Turn.
- For Larger Buttons: *Sc in the calculated gap stitches, ch 2, skip 2 sc.* Repeat from * to * across the row to create 8 larger holes. Turn.
- Note: I didn’t leave any spaces for my buttons as my buttons were extremely tiny, they fit into the sc itself.
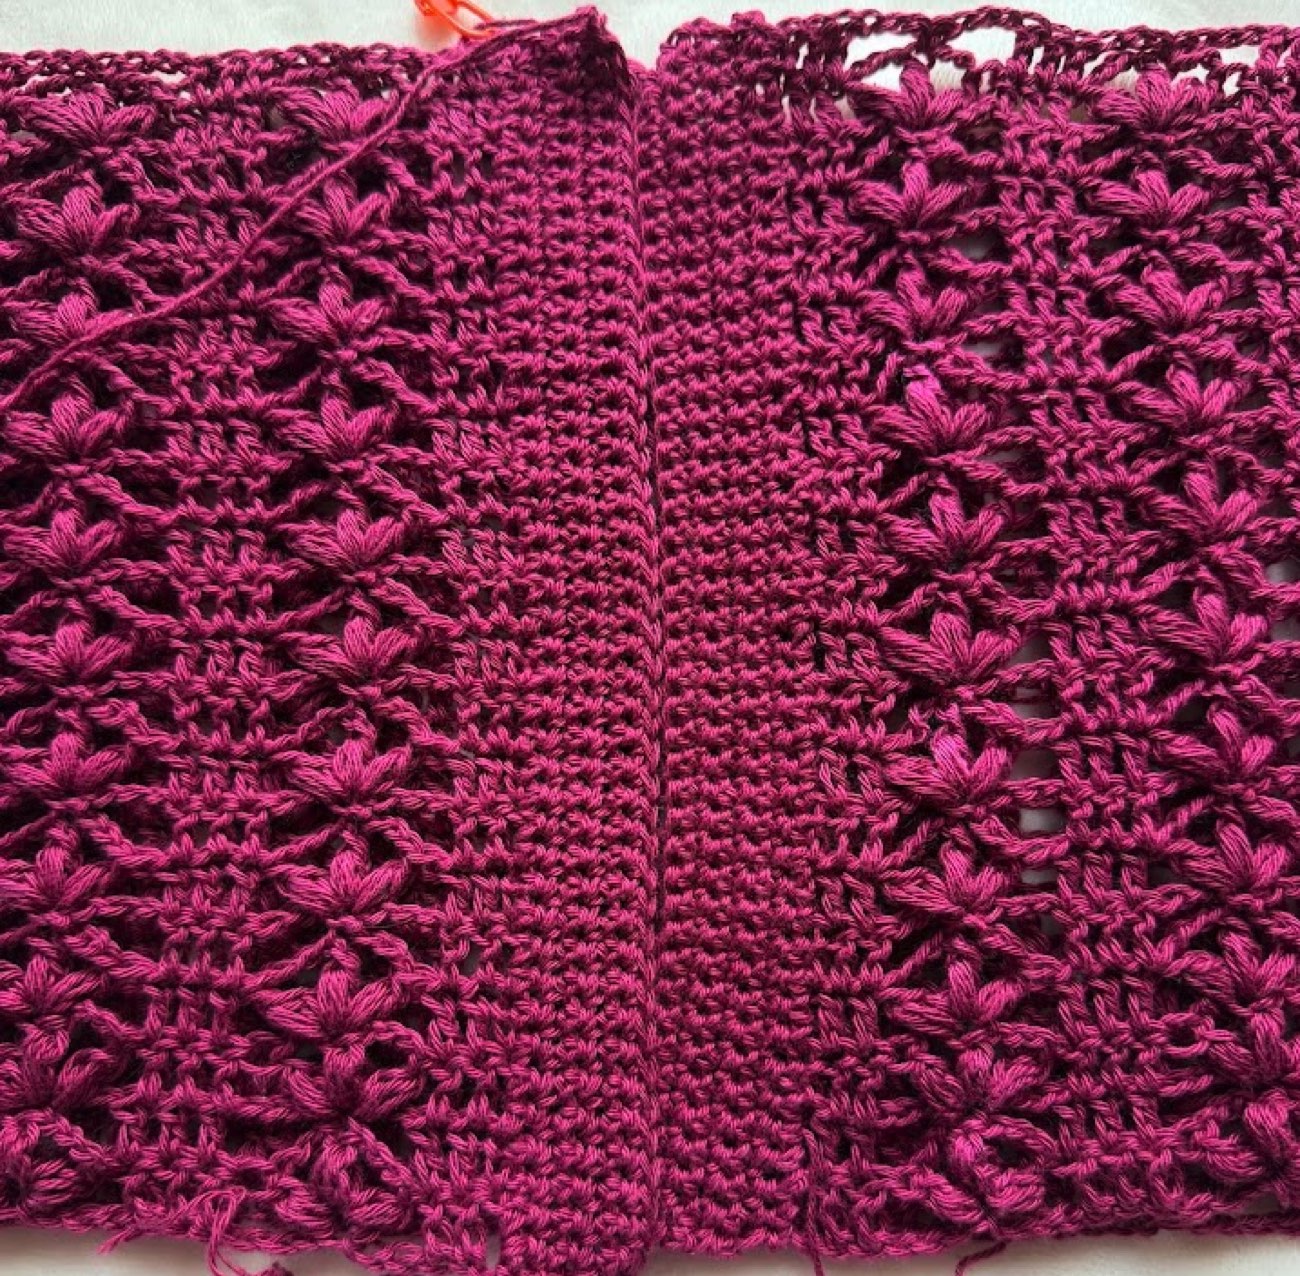
Row 5: Ch 1, sc in each sc st across, working 1 sc into each ch-1 space (or 2 sc into each ch-2 space). Turn.
Row 6: Ch 1, sc in each st across. Fasten off.
3. The Scalloped Border
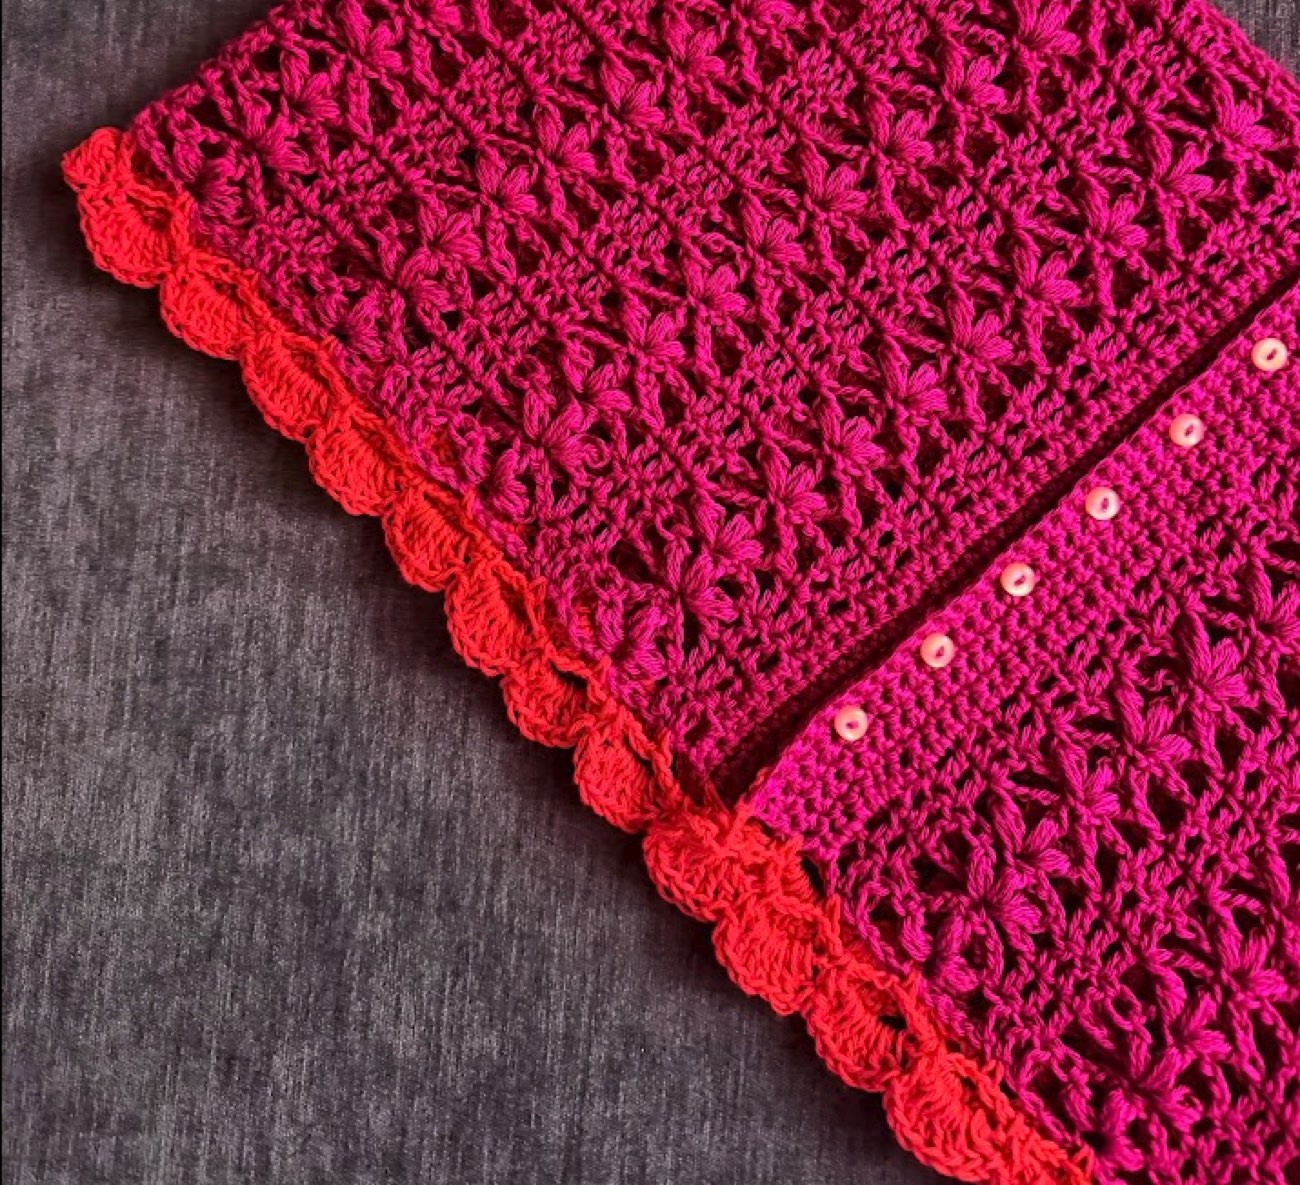
Using your main hook, work along the bottom edge (the foundation chain side) of the body, spanning continuously across the bottom edges of both finished button plackets.
Row 1 (The Loop Setup Row): Attach yarn to the bottom corner of the starting button placket on the foundation chain side.
Row Setup: Ch 5, sc in the 4th SC row of the button placket.
Repeat Sequence:
- *Ch 5, sc into the middle DC of the body pattern (the 2nd dc of the 3-DC group)*.
- *Ch 5, sc into the middle of the next puff stitch*.
Repeat the sequence between the asterisks across the entire bottom of the body section until you reach the opposite button placket.
Row End: Ch 5, sc in the 4th SC row of the second button placket, then ch 3 and dc into the very last stitch of the placket edge. Turn.
Row 2 (The Mesh Row):
Row Setup: Ch 5, sc into the middle of the first ch-5 space.
Repeat Sequence: *Ch 5, sc into the next ch-5 space.* Repeat the sequence between the asterisks all the way across to the end of the row.
Row End: End with a final ch 5 and sc into the 3rd chain from the bottom of the previous row’s turning chain. Turn.
Row 3 (The Shell Row):
Row Setup: Ch 1, sc in the first sc stitch.
Repeat Sequence: *Work 7 dc into the next ch-5 space, sc in the next sc stitch.* Repeat the sequence between the asterisks across the entire edge.
Row End: Your last repeat will finish with a final sc in the last stitch of the row. Fasten off and weave in all loose ends cleanly.
4. Straps
A two-strand cord strap is made by holding two working ends or strands together, creating a sturdy and low-stretch cord ideal for bag handles, drawstrings, and comfortable top straps.
Strap Setup & Placement
Lay your top completely flat and locate your exact center line on both the front and back.
Measure 3 to 4 inches outward from the center line to both the left and right sides. Mark these positions clearly with stitch markers on both the front and back top edges.
Materials: Pull two strands of yarn together (either from two separate yarn balls or using both the center-pull and outer tail of a single ball). Use a hook size appropriate for your yarn weight, a slightly smaller hook than recommended works best to keep the cord firm and tight.
Step-by-Step Cord Pattern (Video Tutorial)
- Foundation: Insert one side of the thread at a marked position on the front edge and pull through and make sure the length of the two strands are at least 3 times of the length of the strap you’d like.
- First Stitch: Wrap the front tail over the hook, yarn over with the main working yarn, and pull through to trap the strand and form your first stitch.
- Repeat Sequence:
- Insert hook under the designated strand path.
- Pull up a loop.
- Yarn over and pull through both the loops on your hook to secure the stitch.
- Length and Finishing: Continue this repeating movement until your strap reaches the desired length to join the back edge. Securely join the strap end to the corresponding marked spot on the back edge with a slip stitch. Fasten off by cutting the yarn and pulling the tails securely through the final loop.
Repeat for the second strap.
5. Finishing & Button Placement
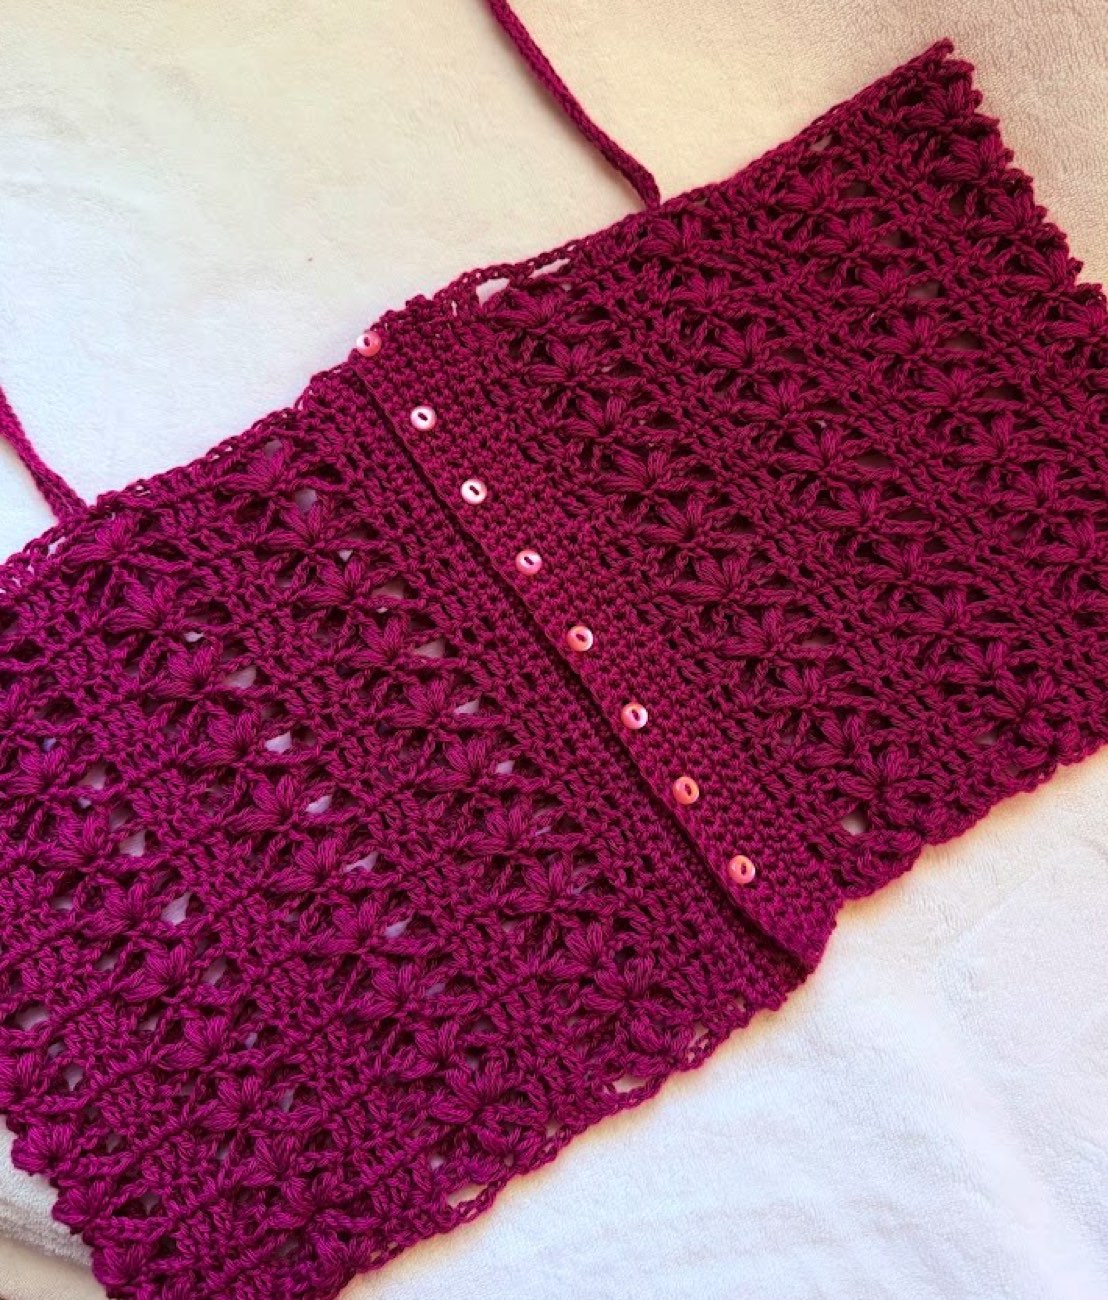
Overlay your plackets to align them perfectly. Mark your exact button positions on the 4th sc row of the under-lap button placket, checking that they sit perfectly centered beneath your holes or openings. Using a needle and matching thread/yarn, sew your 8 small buttons securely into place.
Comments & love
Made Nazaara Top, or have a question? Leave a note below. I read every one.